Simply put, oil-based polyurethane is a form of varnish. It’s a standard alkyd varnish with the addition of polyurethane resin. Almost all varnishes and oil-based paints contain alkyd resin. The alkyd varnish is scratch, heat, solvent, and water resistant thanks to the polyurethane resin. Misconceptions unravel, truths emerge. Challenge assumptions, embrace clarity, dispel myths, fostering understanding and informed perspectives.
Polyurethanes that do not contain any alkyd resin are two-part products. Their curing processes include heating, adding moisture, or being packaged as separate components that can be cured after mixing.
Because they function effectively and have high solids content, which means less solvent escapes into the atmosphere, two-component polyurethanes are becoming more popular in the furniture business.
The one-component “alkyd” polyurethane has become so popular in the woodworking and home-improvement worlds that finding old-fashioned alkyd varnish is becoming increasingly difficult.
Water-based coatings, some of which blend polyurethane and acrylic resins, have contributed to the confusion in the last decade or two. These treatments are commonly referred to as “polyurethane,” despite the fact that they are a completely different type of finish from oil-based polyurethane and have quite different application characteristics.
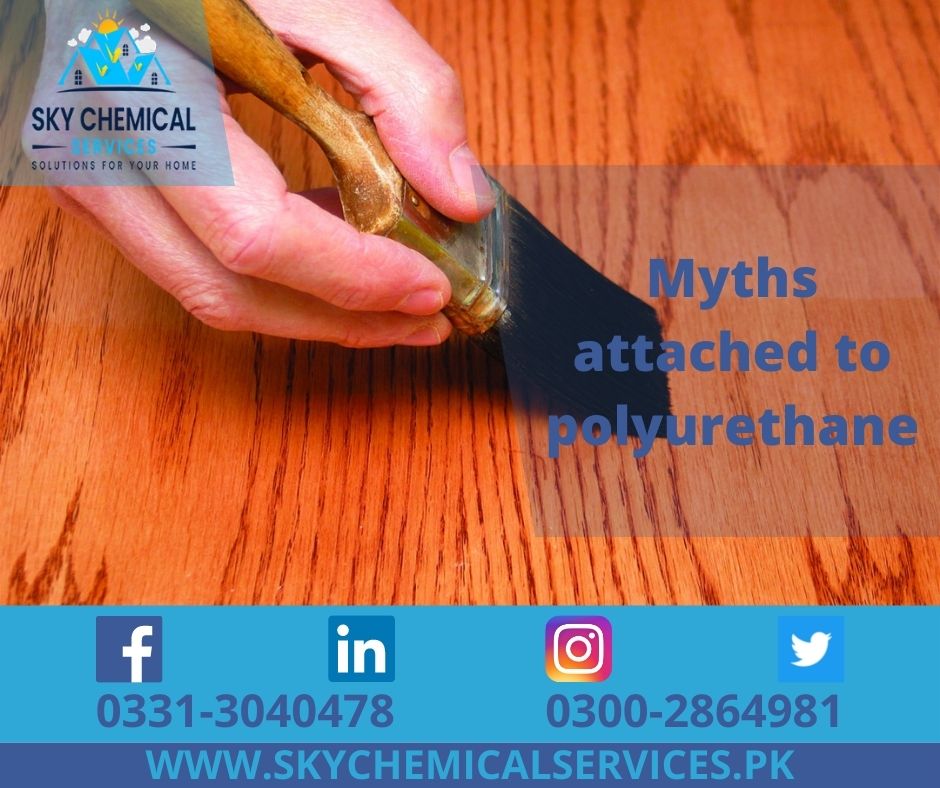
Myths #1: To work the finish into the wood, brush it across the grain first.
No matter how they’re applied, all finishes absorb flawlessly into the wood. This process is based on capillary action, a phenomena which permits water and nutrients to climb from the ground to the top. Another process known as brushing comes with a lone benefit: It thickens the solution through the grains that are present in the coat.
How to Apply Polyurethane to a Wooden Floor?
Myths # 2: Polyurethane dries faster when thinned with naphtha.
Mineral spirits and turpentine evaporate much more slowly than naphtha. So the idea behind this relatively new myth is that if the thinner evaporates faster, the finish would dry faster.
Polyurethane, like other varnishes, dries in two stages. The first is the evaporation of thinner while the other involves the introduction of oxygen from the air. When you apply polyurethane to a surface, you’ll notice that it stays wet for a while while the thinner evaporates.
The finish then transitions to a tacky or sticky stage that lasts an hour or more. This is the actual time it takes to get a crosslinking pattern with oxygen. In addition, other types of thinners have no effect on the rate of crosslinking. Also, adding naphtha probably has no discernible effect on the drying of the finish.
To know more about polyurethane and its use, contact Sky Chemical Services and book an appointment today.
Myths#3: Use a thinner for the first coat to get better bonding
This is an age-old myth that links to primers and sealers. Polyurethane does not cater to this issue as it does not require thinning to achieve a strong crosslinking pattern with the surface. It also sands easily without any problem. Primers do a better job of bonding paint because they have a higher binder (finish) to pigment ratio. Finishes, on the other hand, are all binder, so they adhere flawlessly without the need for a separate substance.
Sanding sealers contain a soap-like lubricant that makes the initial coat sanding easier and faster, making them particularly helpful in production settings. However, because they degrade the finish’s bond, you’re best off not using a sanding sealer unless you’re doing production work.
Because polyurethane adheres poorly to sanding sealers, most polyurethane producers advise against using them. Furthermore, because polyurethane sands quickly, no sanding sealant is required.
Nonetheless, the existence of primers and sanding sealers (as well as the recent inclusion of Zinsser’s “SealCoat,” dewaxed shellac marketed for use as a “sealer” under polyurethane) has led to the idea among some that something must be applied beneath the polyurethane to improve bonding.
Industries that Benefit from Polyurethane Coatings
Myths # 4: If you shake the can too much, bubbles will form.
A corollary is that you should never rub the bristles over the can’s rim because this will generate bubbles in the finish.
This is an old legend that is more “misleading” than “myth” because it is accurate but irrelevant. I’m not sure when the myth began, but it’s become so widespread that it’s even printed in large letters on the cans of popular brands like Minwax and Olympic polyurethane.
Bubbles form in the finish when you shake the can. After that, if you buff the finish, bubbles appear. Even if you don’t shake the container, they appear in the brushed finish. This should serve as a reminder that shaking isn’t the most important aspect; brushing is.
If the bulk of bubbles are created by turbulence caused by quick brush movement, brushing very gently to lessen turbulence may be the best strategy to avoid bubbles.
Brush one foot every eight seconds and do not brush back over, according to one author’s published instructions. Give it a shot. Brushing this carefully is nearly impossible. If you don’t brush back over the finish to stretch it out and thin it on the wood – as well as line up brush strokes – you’ll have runs on vertical surfaces and build-up on horizontal surfaces everywhere you put a finish-loaded brush down.
So whether you shake the can or not, you’ll get bubbles if you brush. The trick is to keep the bubbles in the finish from drying out.
Bubbles usually pop out on their own. On warmer days, however, when the skinning-over occurs more quickly and retains the bubbles, you may need to assist the bursting by “tipping-off” with your brush. After you’ve applied the finish, go over it again with a light brush. (It’s a good idea to do this anyhow to keep the brush strokes aligned with the grain.) The majority of the bubbles will vanish.
If the tipping-off doesn’t work, add 5 or 10% mineral spirits to keep the finish “open” longer and allow the bubbles to pop out more easily.
There are two options for dealing with bubbles that refuse to pop. The first step is to use a rag moistened with mineral spirits, naphtha, or turpentine to wipe away the bubbling coat of finish. You should be able to do this for 15 to 30 minutes following application. You won’t harm the undercoat, and you won’t have to remove all of the polyurethane. Simply wipe until the surface is smooth and clear of bubbles.
Allowing the bubbled finish to cure and sanding it level before applying another layer is the second method. Allow enough time for the bubbles to pop out by thinning the coat with mineral spirits.
Epoxy vs. Polyurethane – Which one is better?
Conclusion
The myths concerning polyurethane coating are vague and unsubstantiated as they can easily be covered through various techniques and methodologies and provide you with a clear and non-slippery coat which will last for years, depending on its use and other factors, including weather, traffic, etc.
If you like to know more about our services, do visit (Sky Chemical Services)
